Attaching the paper:
In Part 1 of making traditional Japanese Lanterns we saw the tools needed for this ancient art form and the technique for winding your mold.When you are winding your lantern you will have the wire more taught at both ends and a little more lose in the center. If you wind your mold to tight your finished lantern will have problems when you need to collapse it. The best lantern can be pulled open and close with ease without any tearing or stretching on the paper. When you look at a master’s winded mold it will be exactly round, beginners’ winded molds can have an oval look to it.
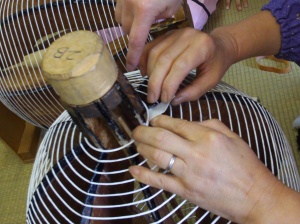
When you are done winding your mold yo will attach the paper wire on to the metal wire at the end. You can either use string or in this picture we are using washi paper that is very strong with methyl cellulose.
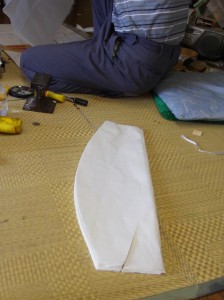
The best paper to use for a Japanese Lantern is of course Japanese Paper called Washi. (Learn more about Washi here). Washi is the same paper that is used on Japanese windows and doors (Shoji screens). It is semi-translucent and can turn any beam of light into a poetic gleam and is ideal for lanterns. Above is the cut strips of Washi for the lantern. Mr. Haba got the science down and each lantern mold has a template for the paper size to fit.
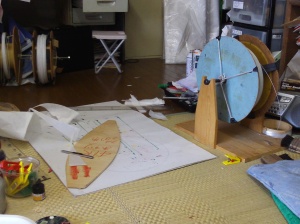
Here is the template for our lantern. Mr. Haba will cut excess paper on the sides. These excess will be cut away once it is glued onto the wire.
Before any paper is glued you first have to measure the distance between each wing. The space between each wing need to be exact.
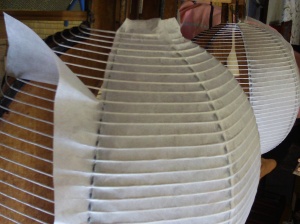
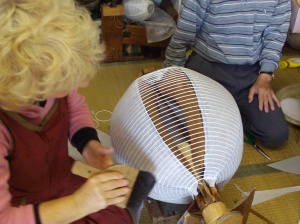
You will have have eight strips of paper for this eight wing mold. Each paper will stretch from wing to wing overlapping the previous strip of paper. The excess paper will be cut away with a very sharp blade before you start the next strip. You will work systematically around your mold until all the wire are glued with paper.
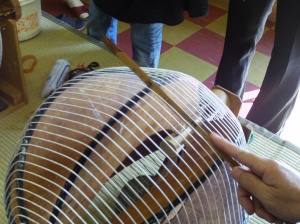
Besides your glue brush you will have a shorter hair brush that you will use to tap the glued paper to make sure every crevice of the paper adhered.
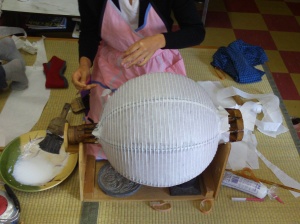
You need two types of glue for this. Regular white glue like “elmers” and Methyl Cellulose. The white glue will be added on the wire ring at the beginning and end of you mold. the Methyl Cellulose will be added to the paper wire. The Methyl Cellulose will be painted onto your wire with a wide brush (preferably horse hair) with about 2 inches of hair. Very important is that you need to have a pat pat motion with the brush to cover the sides and top of the wire. If you stroke it on it will only cover the top of the wire and you might not be able to collapse your lantern since the paper will slip off.
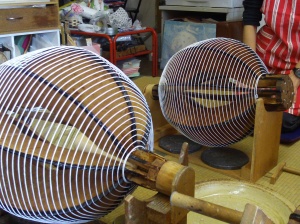
A finished glued mold. In this picture you can see the bowl of Methyl Cellulose and brush.
The best way to understand the process is watching Mr. Haba doing it.
Video:
[blip.tv ?posts_id=3168640&dest=-1]




What do you think?